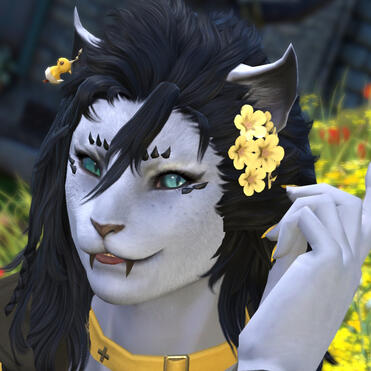
Allamanda's Facial Expression Guide
Welcome to this lil guide of how I gpose expressions and emotions on this silly hrothgal!
I primarily use Brio, but any common posing plugin/app should be able to follow along if you can access bone positions and rotations, either with an in-world 3D widget/gimbal or a posing window! Brio can make the widget appear by clicking the "Open Overlay" eye icon. Select your bone and go!
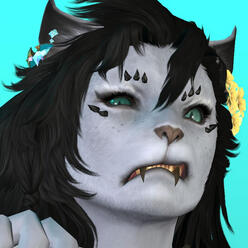
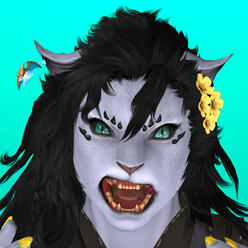
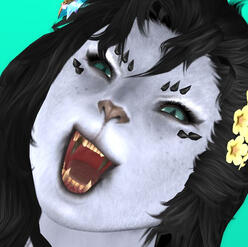
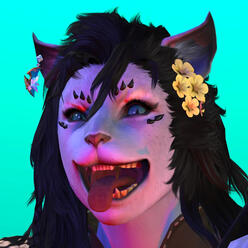
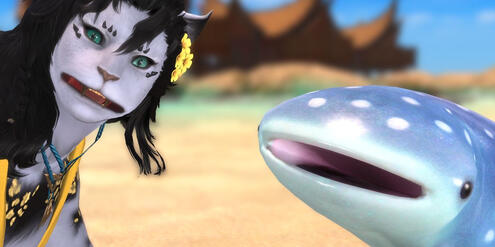
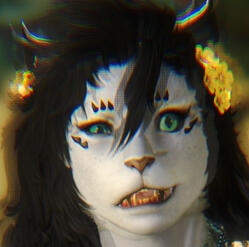
Note: This is not meant to be prescriptive or a strict how-to, but more sharing things I've figured out that work for me through trial and error and experimentation. It's also focused on hrothgar (which I have most familiarity with); while it should mostly apply to any race face, hroth muzzles do seem to behave a bit differently for some bones, so your experience might vary!But really, the best way to learn is to smush around your blorbo's face, see what happens when moving positions around, or rotating each axis back and forth to develop a sense of what they do.That said, click below to follow along how I approach posing expressions...
Say Ahhh~
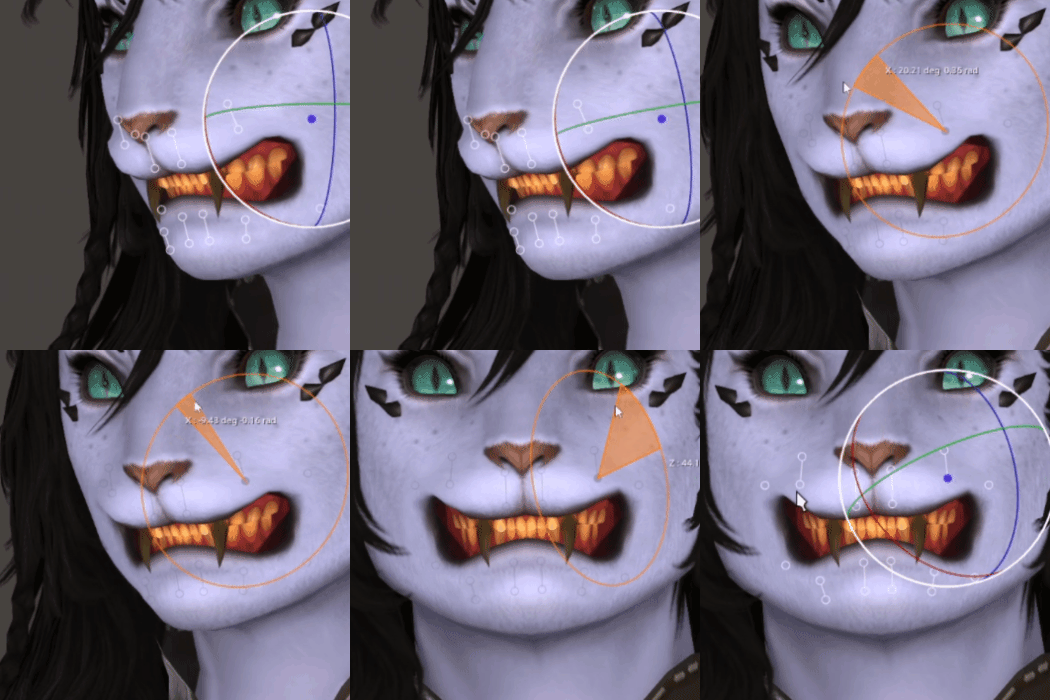
I typically start with corners of the mouth, getting an initial shape with positional movement. With hrothgals, I feel the corners of the mouth do a lot of heavy lifting due to that muzzle in front! Try keeping the mouth/lip bone positions fairly flush or tangent with the cheek, or even just behind or within the skin. Bone position seems more forgiving if it's inside; pulling it out of the cheeks might get more noticeable stretching.Continue with moving positions of the Lip A bones, essentially forming or drawing the desired shape of the mouth's expression via the 4 corners and the 8 Lip B bones. Connect the dots!BUT, it's ideal to move the Lip A bones for now, as that will keep overall face/mouth shape cleaner and easier to work with going forward.
Lip B are child bones of their Lip A, so moving A's will bring B's along with them, and allow for B's to do fine tuning control.
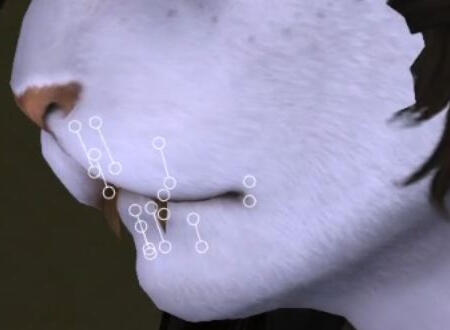
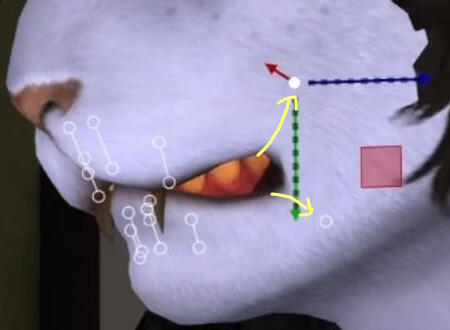
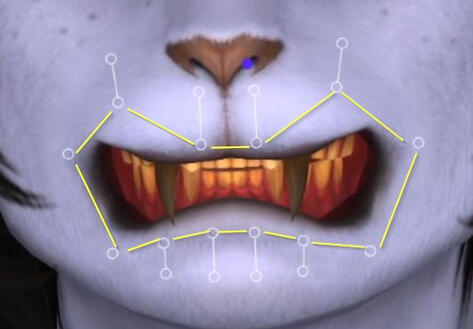

Bones kept within the face!
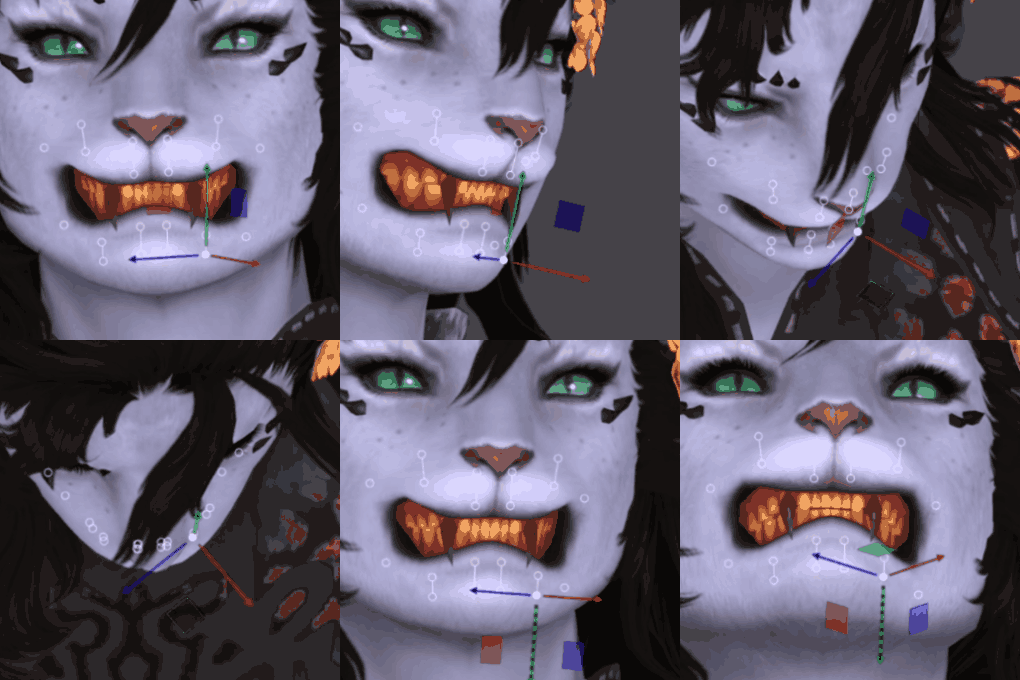
Eye See What You Did There
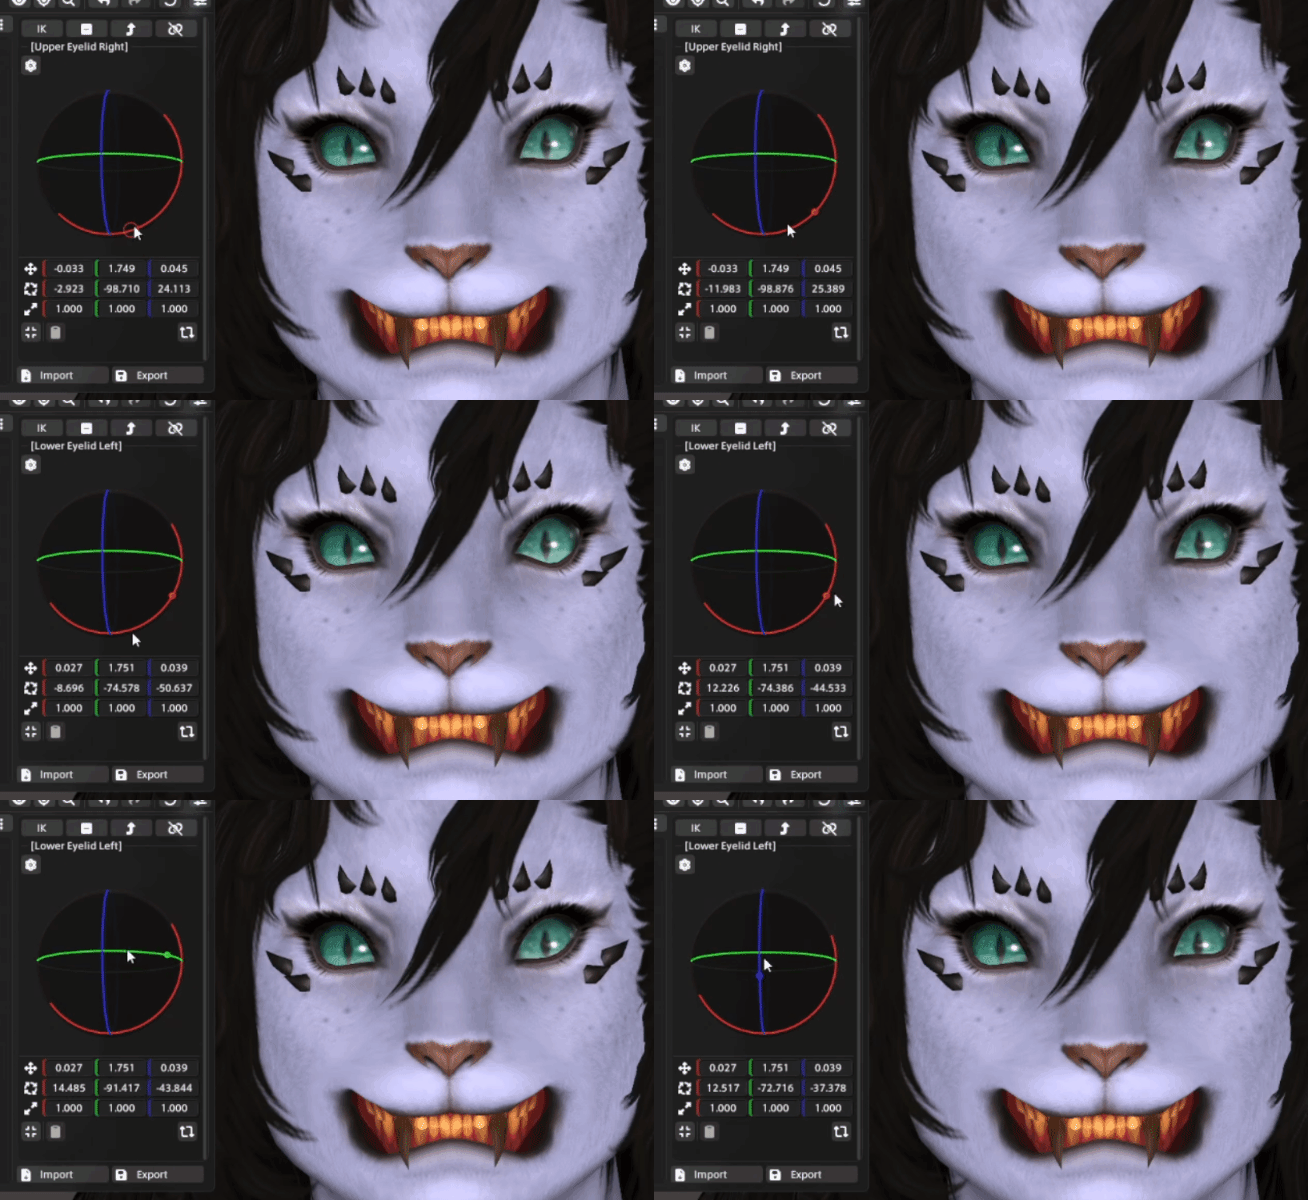
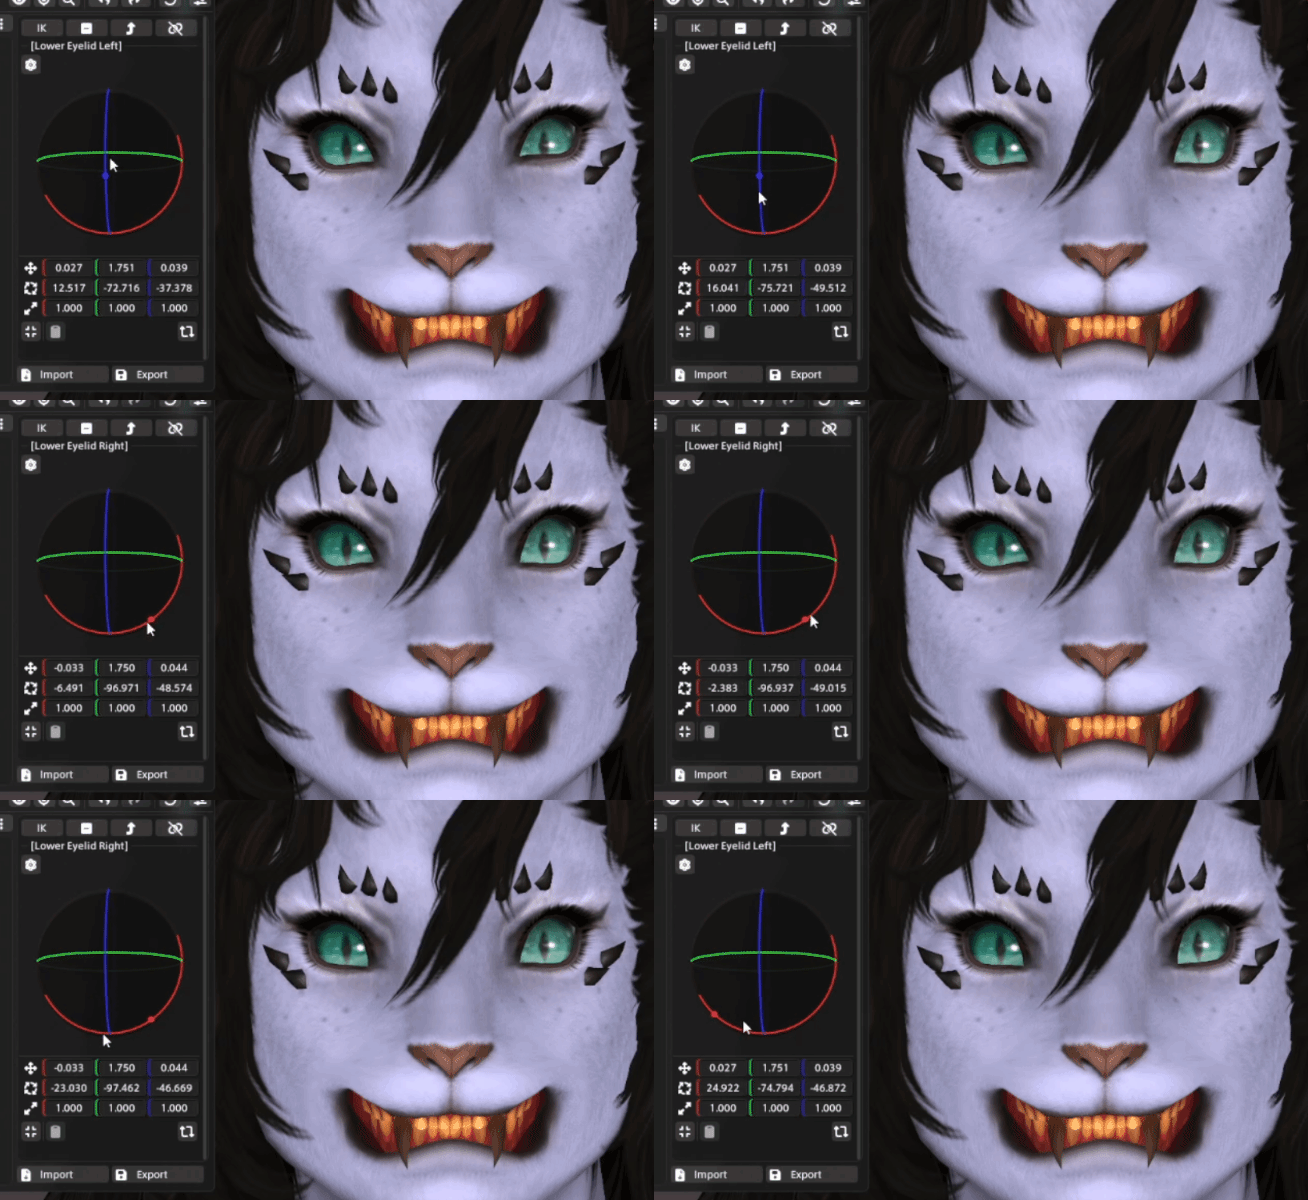
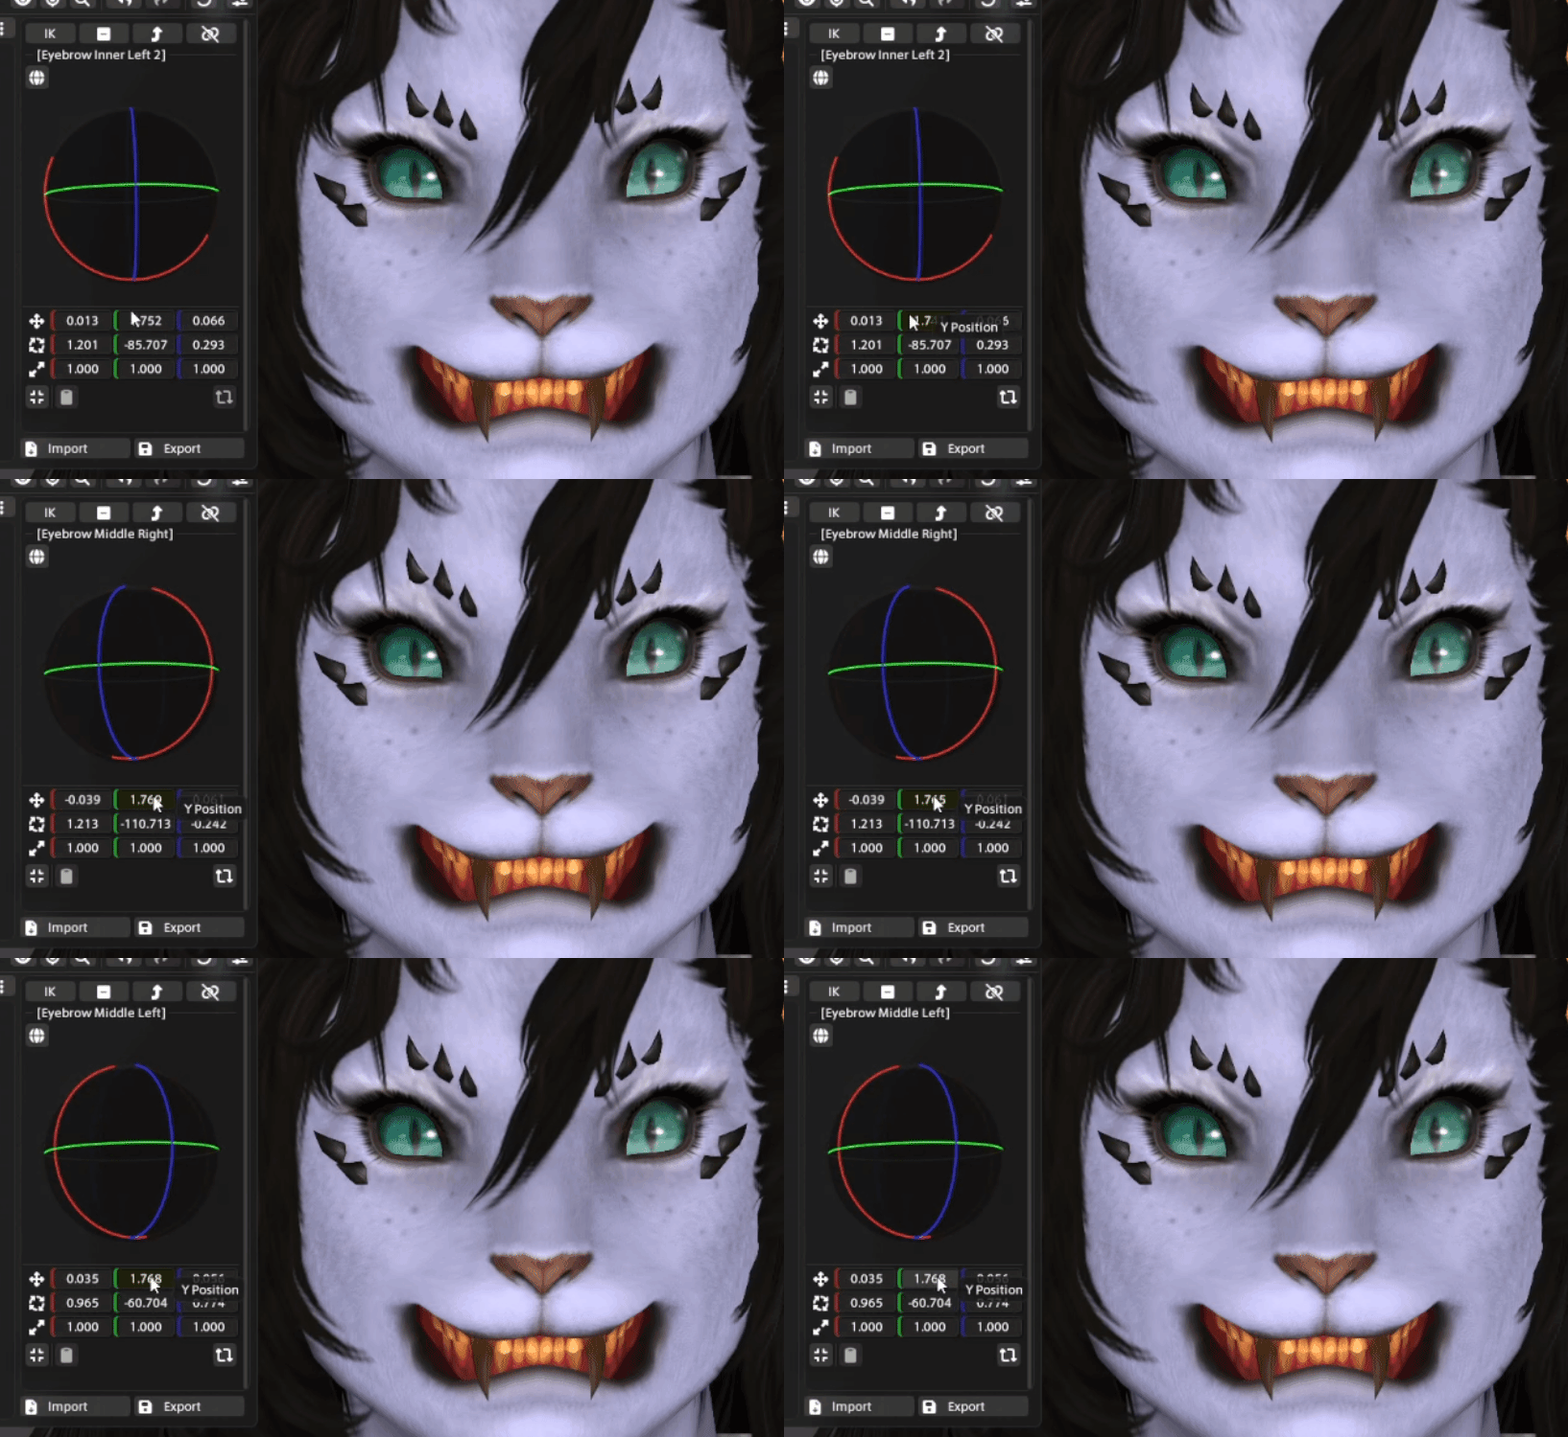
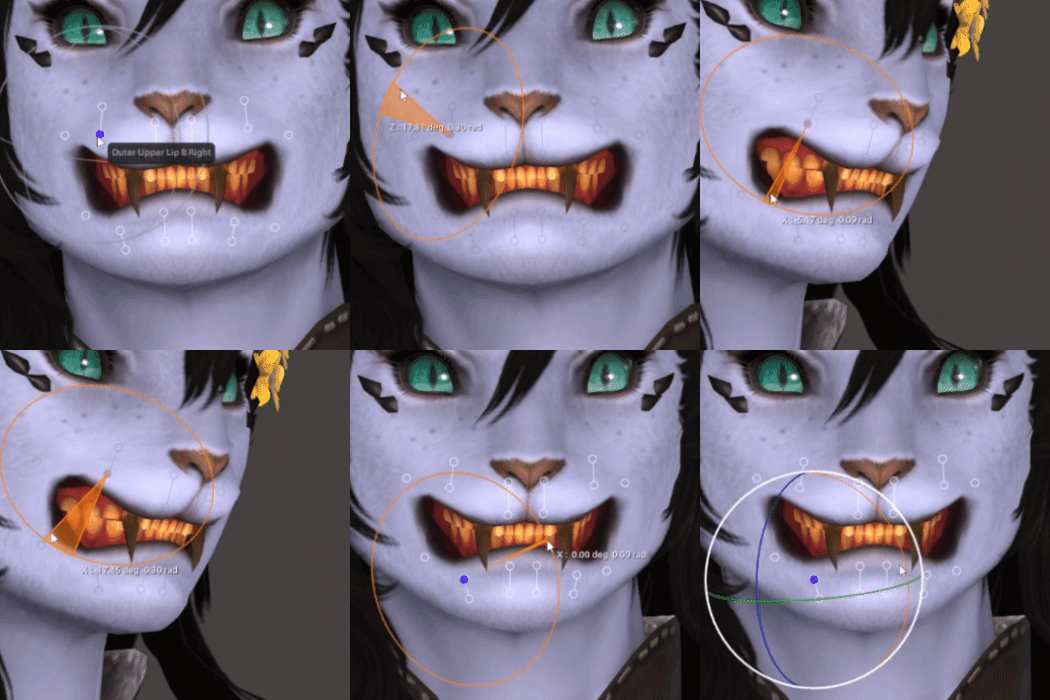
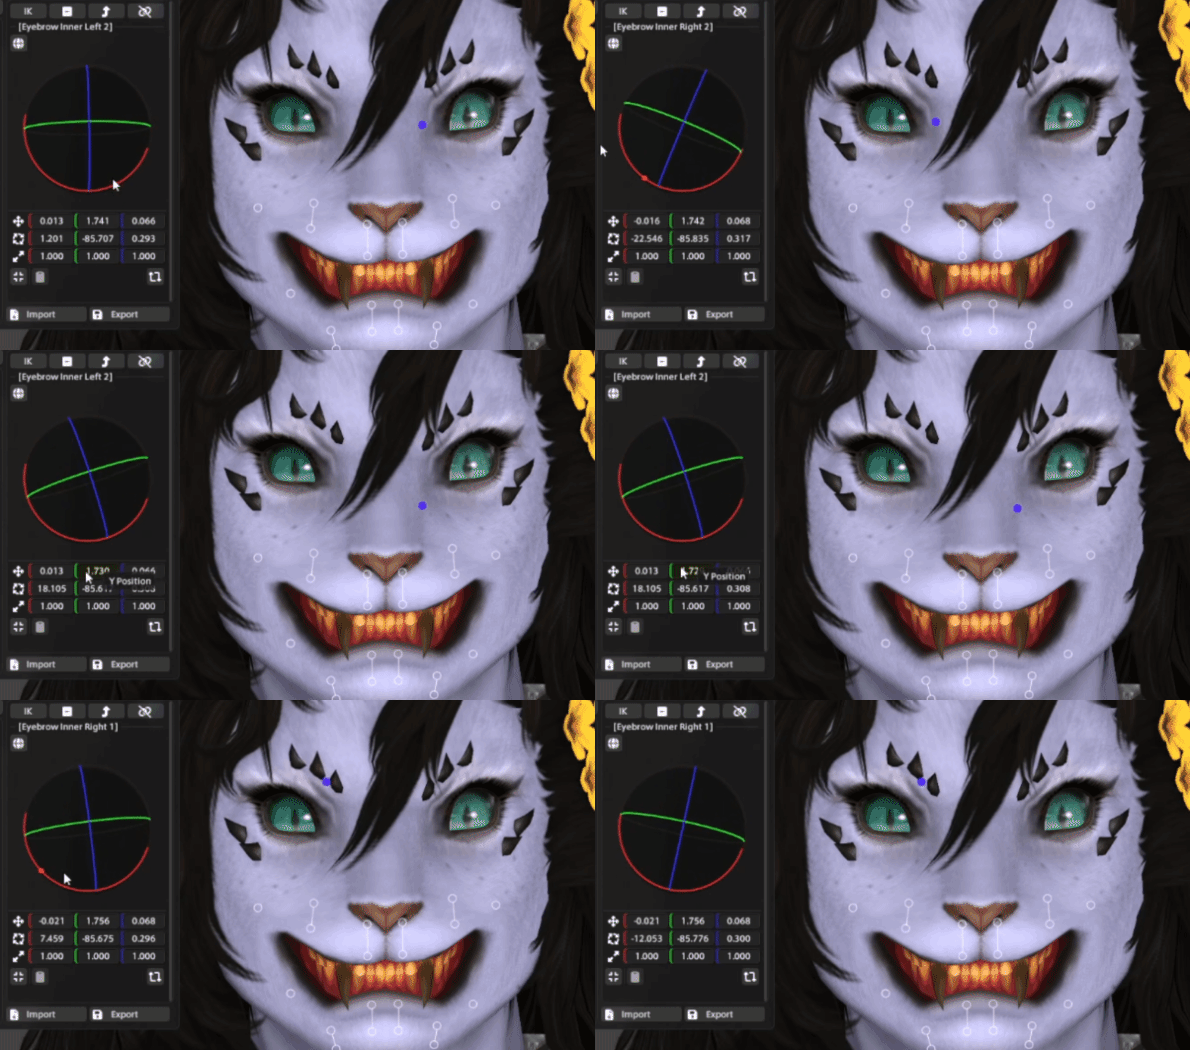
I like to get the initial look of eyes & brows in place next, to get a better overall sense of the expression! Window to the soul and all that...Toggling to World instead of Local feels more useful when rotating eyelids (so widget axis stay fixed as they open/close, at least if the character's head is mostly upright and straight-on).Starting with rotating Z for opening/closing eyelids. And also rotating X to further shape the eyes; sharper and angrier/fiercer, or rounder and happier/softer. You can get a lot of different expression and personality as you subtly change eye shape!For eyebrows I start with only moving Y position of Inners and Middles, just to quickly get the initial shape/angle and get the full sense of the expression now with the eyes and mouth.
Lip Service
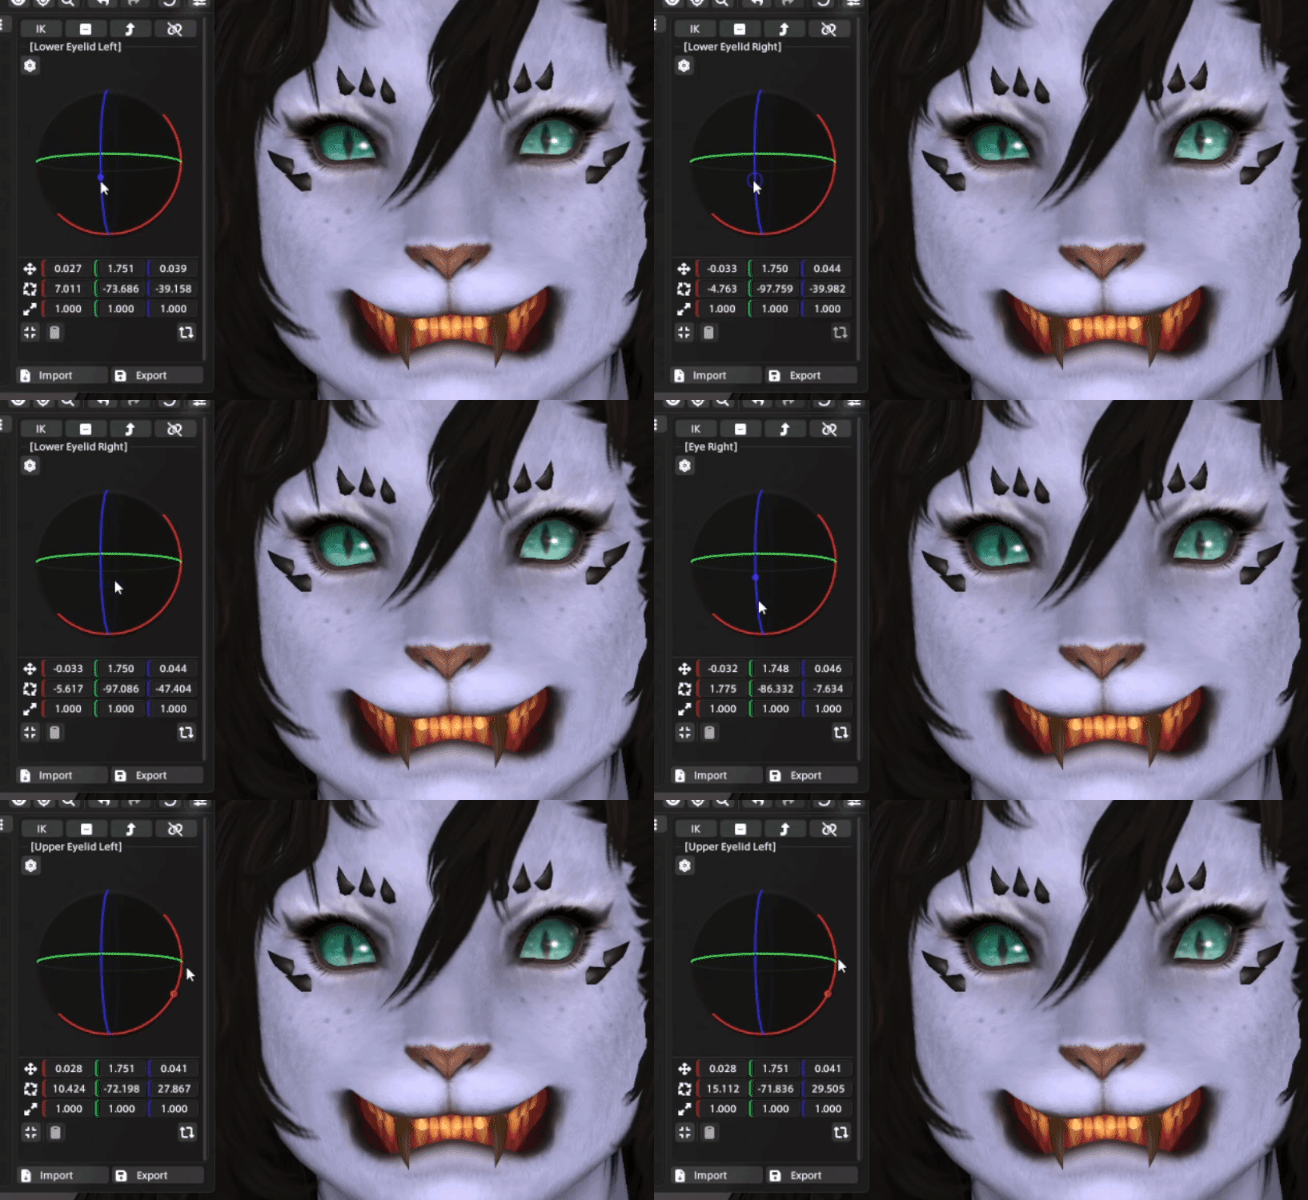
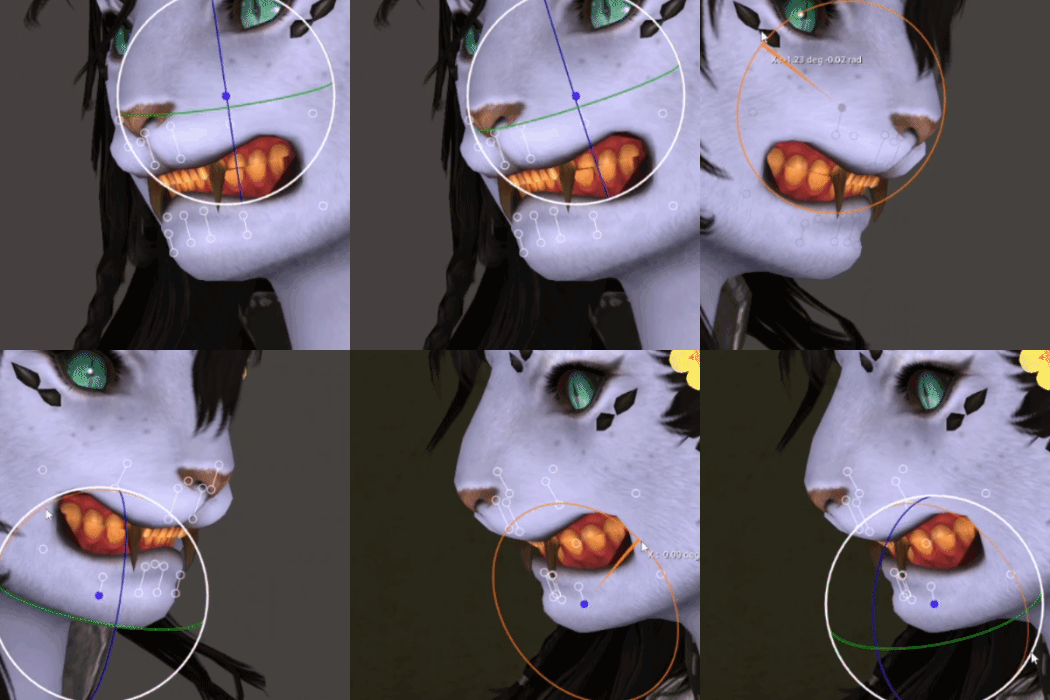
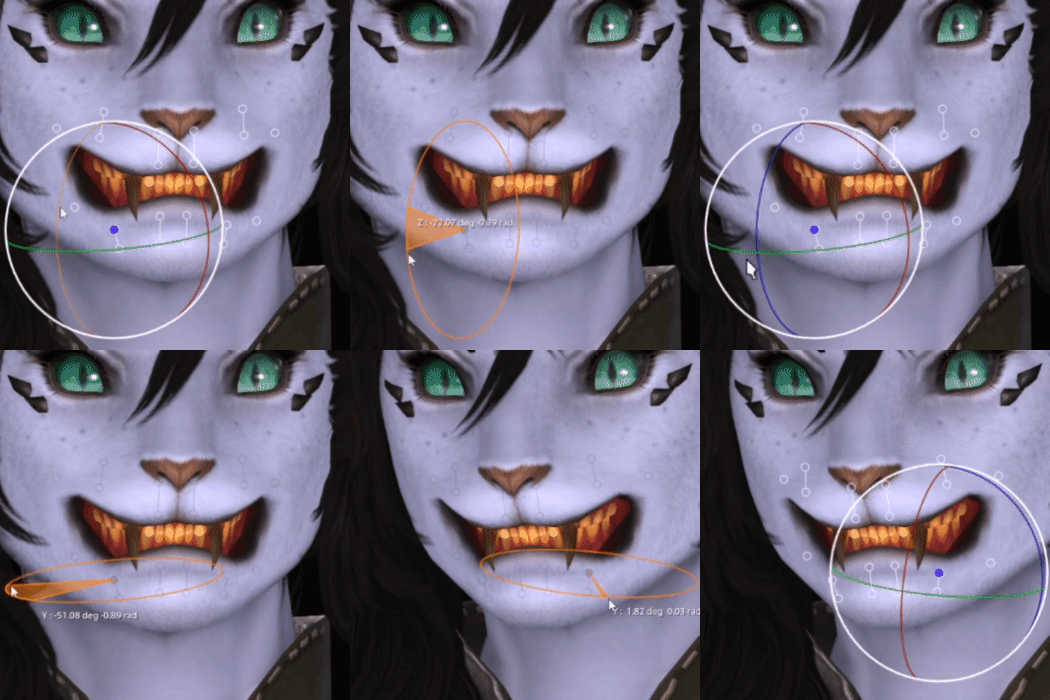
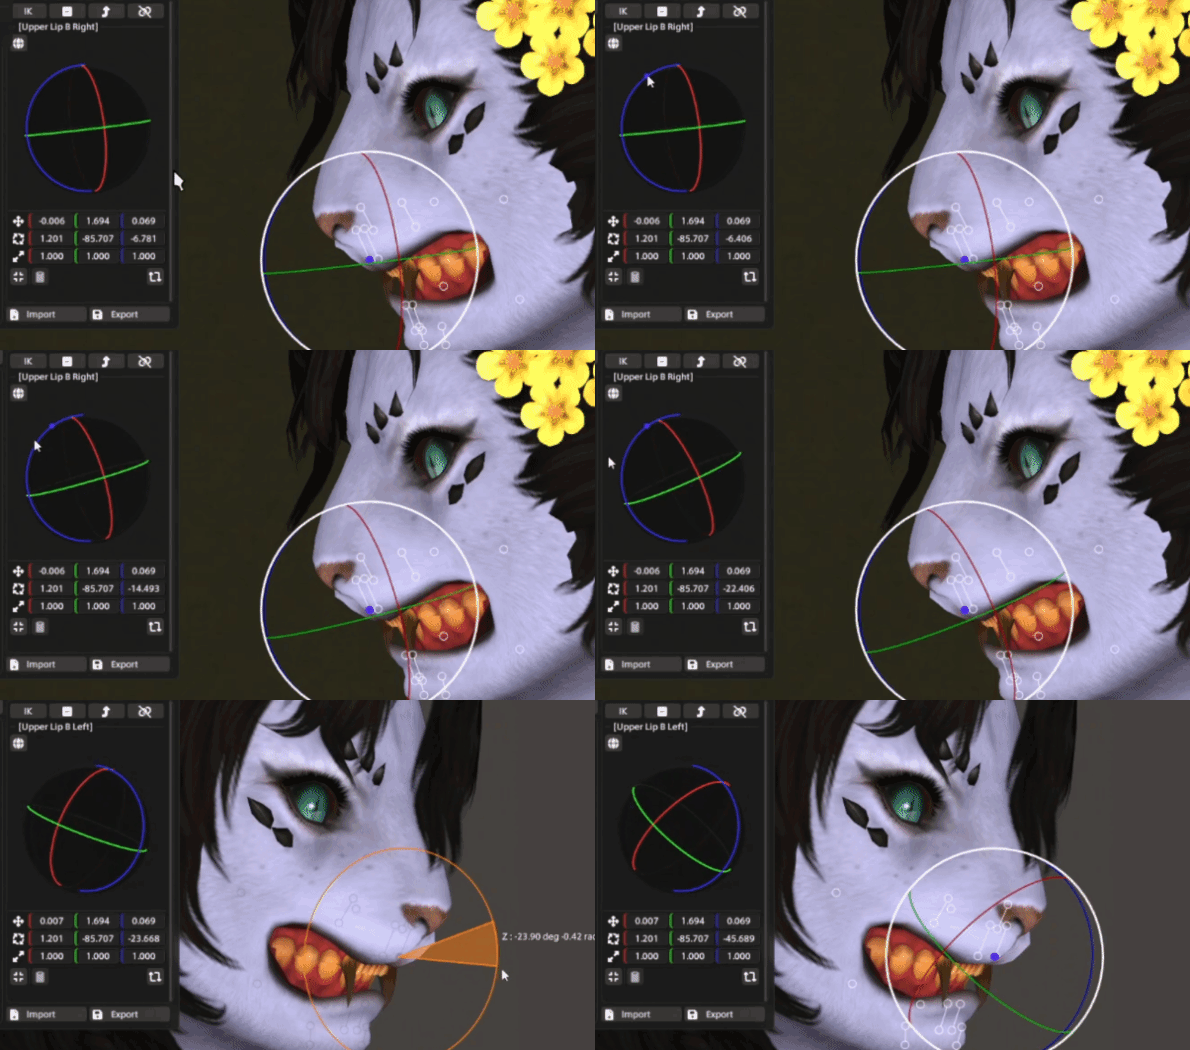
Going back to mouth for more indepth rotation tweaking! I usually hide the widget and use the window panel for this, so it's easier to see (but will show it here for better visual aid).This can get to be more of trial & error kind of feel, to see what exaggerations I can push with some further Lip A rotations. E.g. to enhance some more sneer or have a curlier smile.Once the overall shape now is where I like it, I start rotating Lip B's to soften some of the harder angles that might been created, as well as to uncurl some parts that might've started clipping.Generally I like to really lean in to the lioness-muzzle of hrothgar- makes them stand out! Let those lips curl, bare some fangs, give in to some more animalistic nature! Tho for more conversational kinds of poses or comics it can certainly make sense to make simpler or more human-like mouth shapes.
So Cheeky~
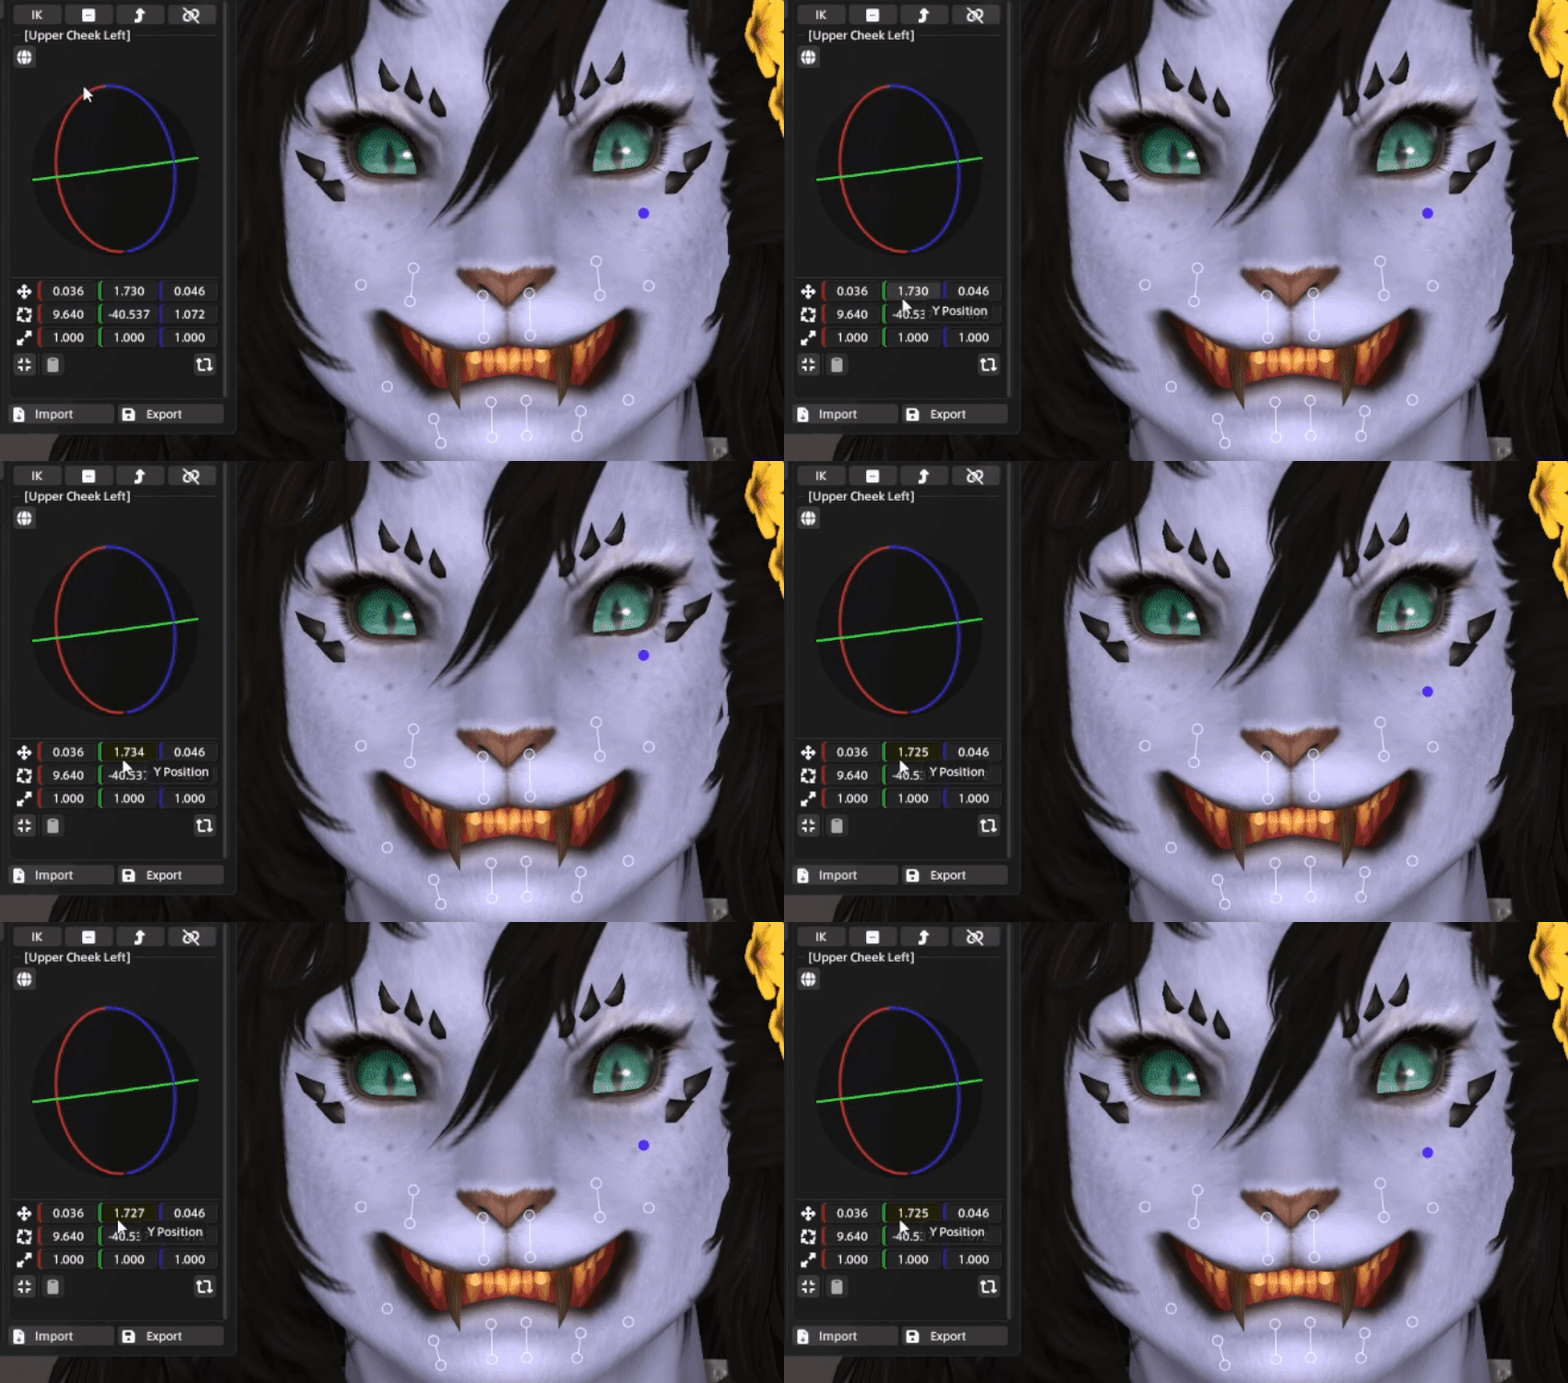
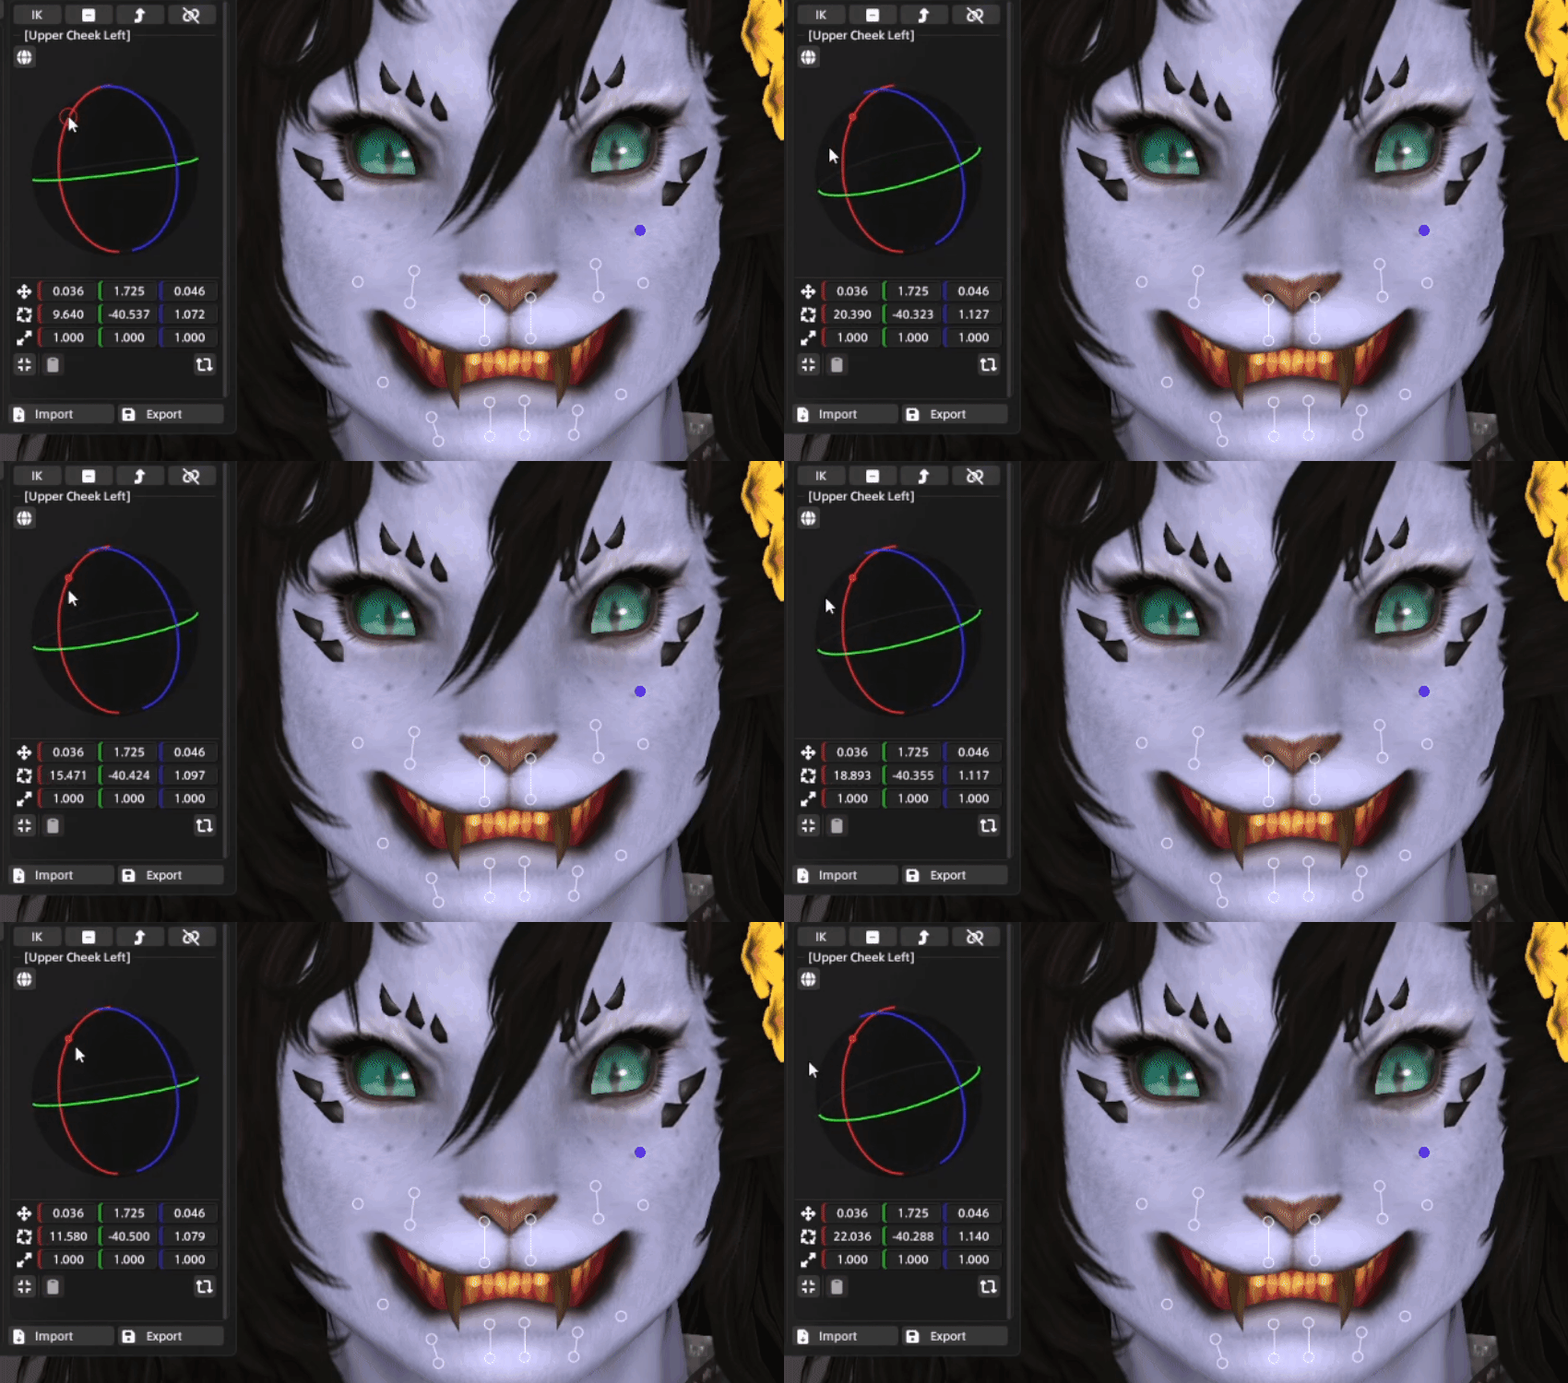
Upper cheeks and Front cheeks are subtle but great bones to help out with the lower eyelids and can show some scrunches/wrinkles between the nose bridge and eyes!If it's a more squinty expression, move Y position of that cheek up and/or rotate it in. If eyes are much more wide open, move cheeks down! This also lets some of the skin texture not get squished or clipped and lost. If you have the upper cheek piercings like Allamanda, essentially treating them like additional eyebrow expression can subtly help too! Such as moving them closer in to accentuate a squint.
Middle and lower cheek I might only adjust if it's a really exaggerated wide open mouth, or if the mouth corners are starting to get some clipping, or if it's something fun like puffing cheeks out or holding your breath!
The Final Countdown Touches
At this point I do a lot of small tweaking and adjusting over everything, depending how perfectionist or obsessive I'm currently feeling...
Moving or rotating various eyebrow bones to simulate furrowing or further exaggerate, more lip-touching to get last bits of harder edges just a lil smoother, etc.
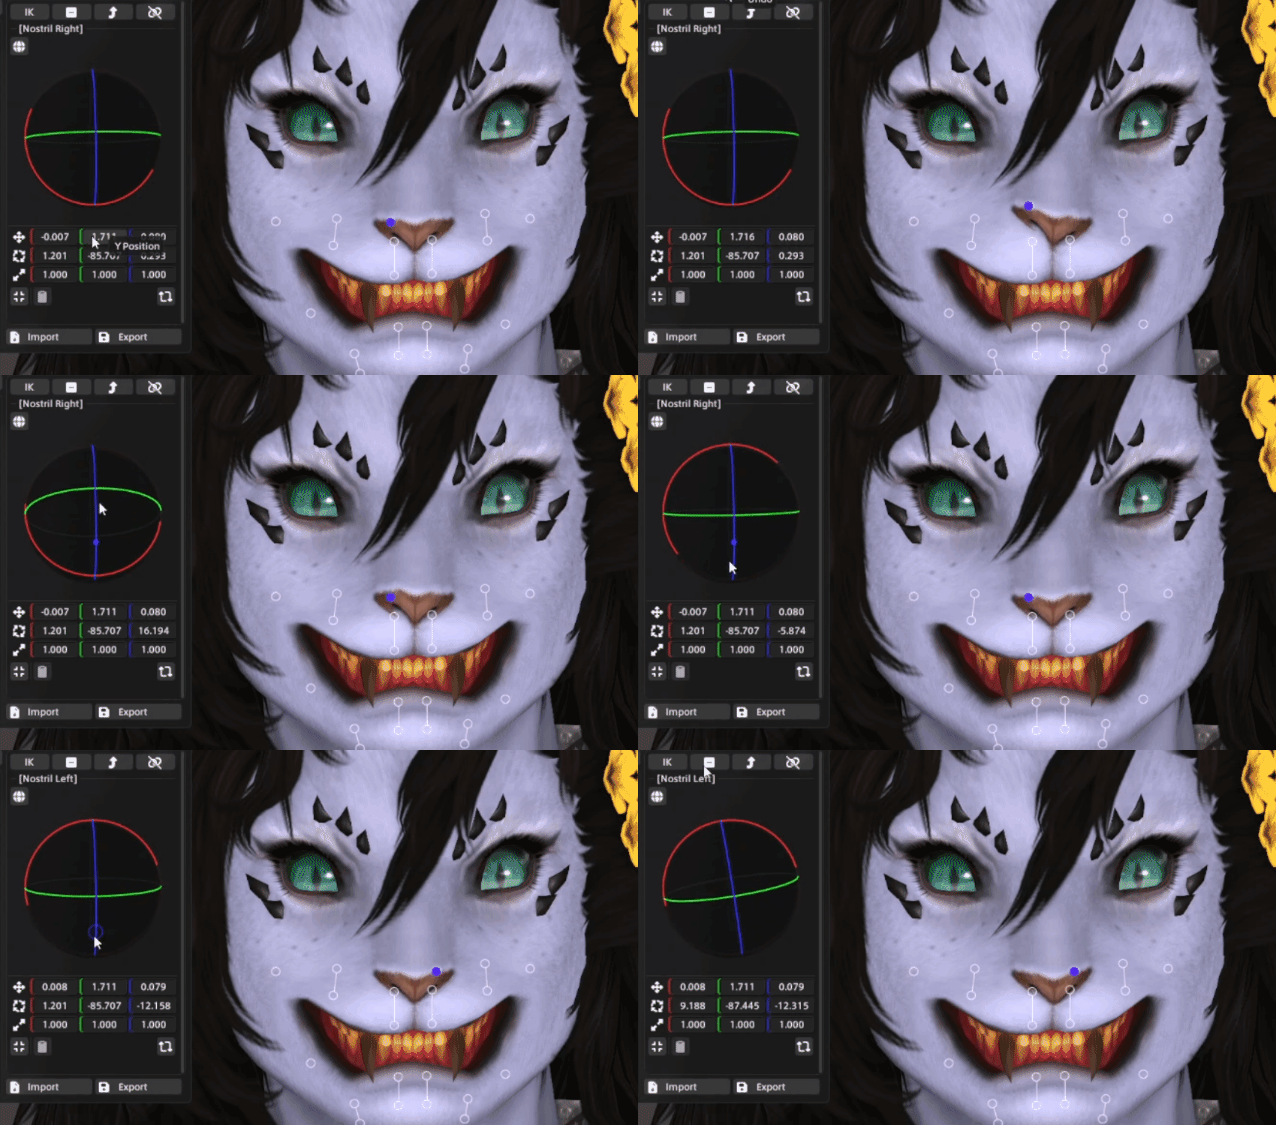
But there are also a few other parts I try remember for extra details too:Adjusting nose bridge, or flaring the nostrils, can help elevate an expression! Try just slightly moving or rotating them, thinking about what happens to your own nose as you move your upper lip around.Another way to accentuate is playing with hair angles and positions, like raising one's hackles (quite literally)! Next time you watch some Ghibli, keep an eye out on what a characters' hair does when they get really angry or spooked!
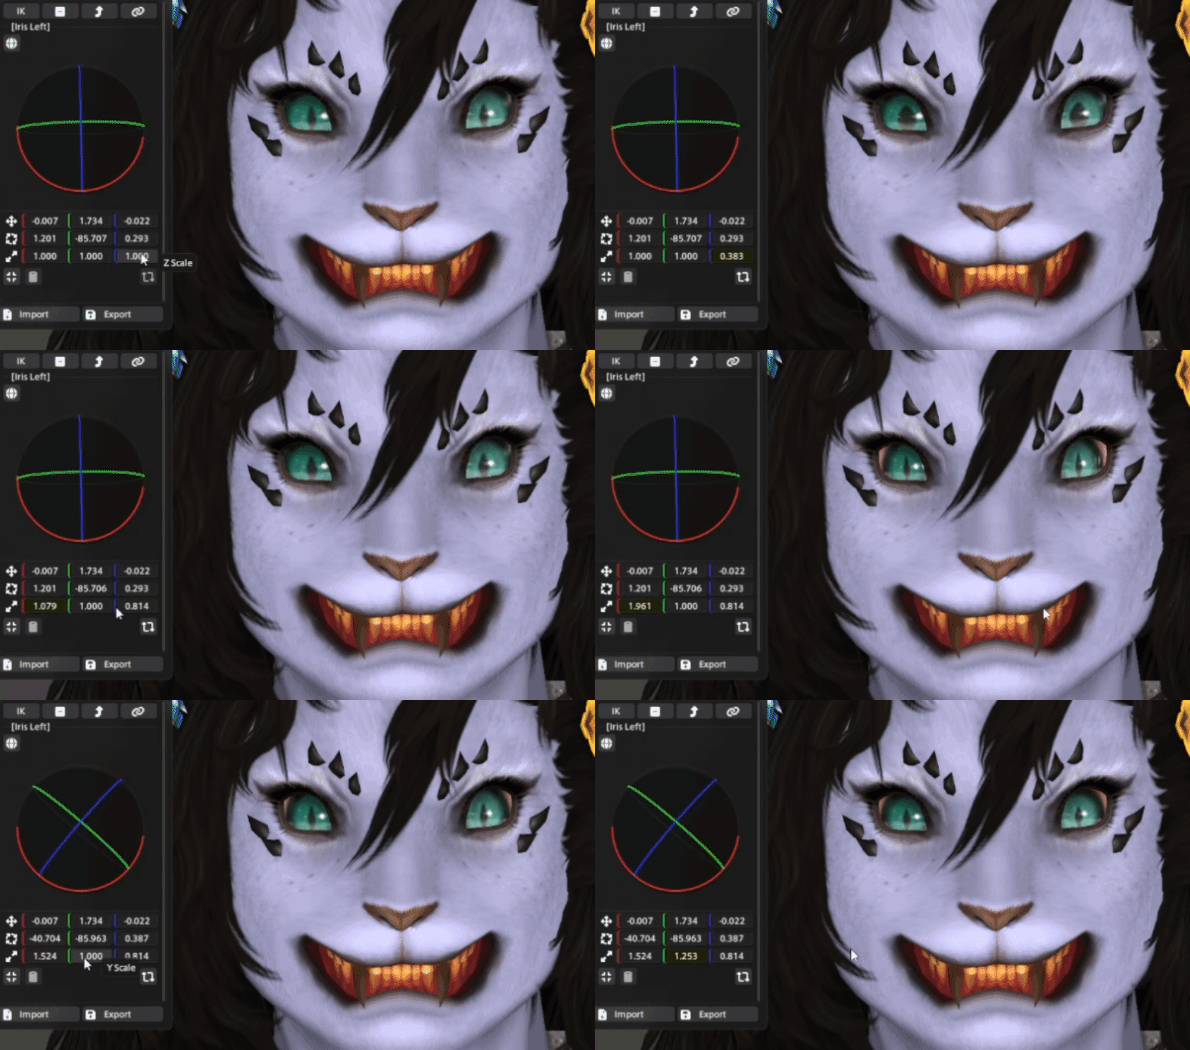
Also if your character is leaning some direction, remember to rotate hair parts to follow gravity!A really fun bone to intensify certain expressions or emotions is the Iris, or "j_f_eyeprm_02_l/r", if "Iris" isn't available.
Use X and Y scale (not position or rotation) to shape the overall iris, and Z scale to widen/thin only the inner pupil. Great for dilating, or cat-eye-attack-mode!
Misc Tips!
IK is a super time saver to help move limbs around to entirely different positions! I find it's best to grab the end of a limb, e.g. hand or foot, and use the position widget in-world to move it to where it should be. Like bringing a hand close to the handle of a weapon, locking in and stopping the IK, then rotating to grasp it from there. IK lets you manipulate just a single bone while it generally-pretty-smartly/appropriately brings along all the attached joints with it!It also has the benefit of not allowing overextension and excessive stretching.But there may need to be some elbow and shoulder rotation afterwards to clean up seams and such.If you have a specific camera angle or perspective locked in, you can get further time-savings by only posing to make things look good from that specific viewpoint. I.e. if you're just looking at one half profile/side of a face, no need to pose the other side if no one's going to see it! Nobody needs to know about the bone crimes...
(img/gifs WIP)
A Fierce Result
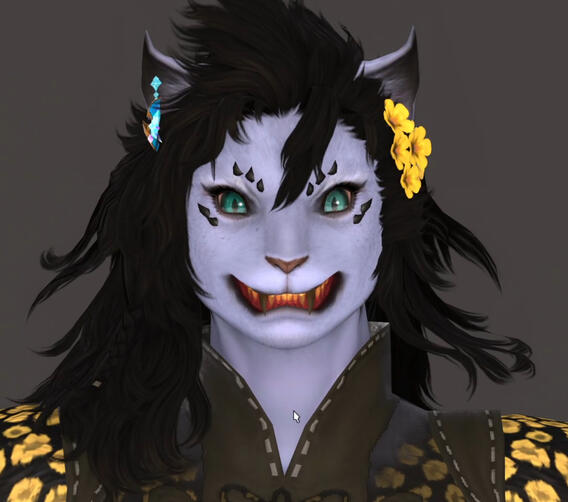
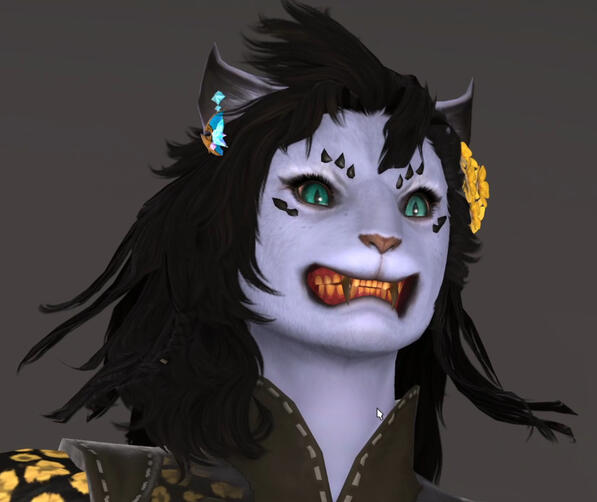
And here's how this guide's example turned out! I'll have to do a happier one next time... 😅
Thank you for visiting my lil guide!
If you found some things useful, that makes me so pleased~
If you already knew all of this, I'm glad to validate your superior knowledge and skill! You're a pro!
Follow my BlueSky to see what Allamanda gets up to, and share with me your awesome expressions if it helped you out!
(Or just share anyway because you're amazing!)
Also let me know if you have any feedback or curious about more details on any specific aspects.
Feel free to reply to the pinned BlueSky post of this guide, or chat directly at me. Happy gposing!